


This head was covered in a spray foam and a lot of paint. He had used this one as a practice head so my friend gave me permission to remove the paint and foam. I could not remove all of it but I got enough to get the detail I want.

Next I made my Paper Mache with equal parts water and flour and a little salt (salt helps prevent mold from growing) and then ripped up pieces of newspaper. I put a thin layer of Vaseline all over my mannequin face so once the masked dried I could easily remove it.
I put a few layers all over the face and smoothed it all over. I let it dry over night and went to check it the next day.

The mask came off easily though I did rip it a little in one place. I decided that it was not as thick as I would like so I put it back on and added a couple more layers.

The added layers made it much better. Next I did the back of the head and neck.

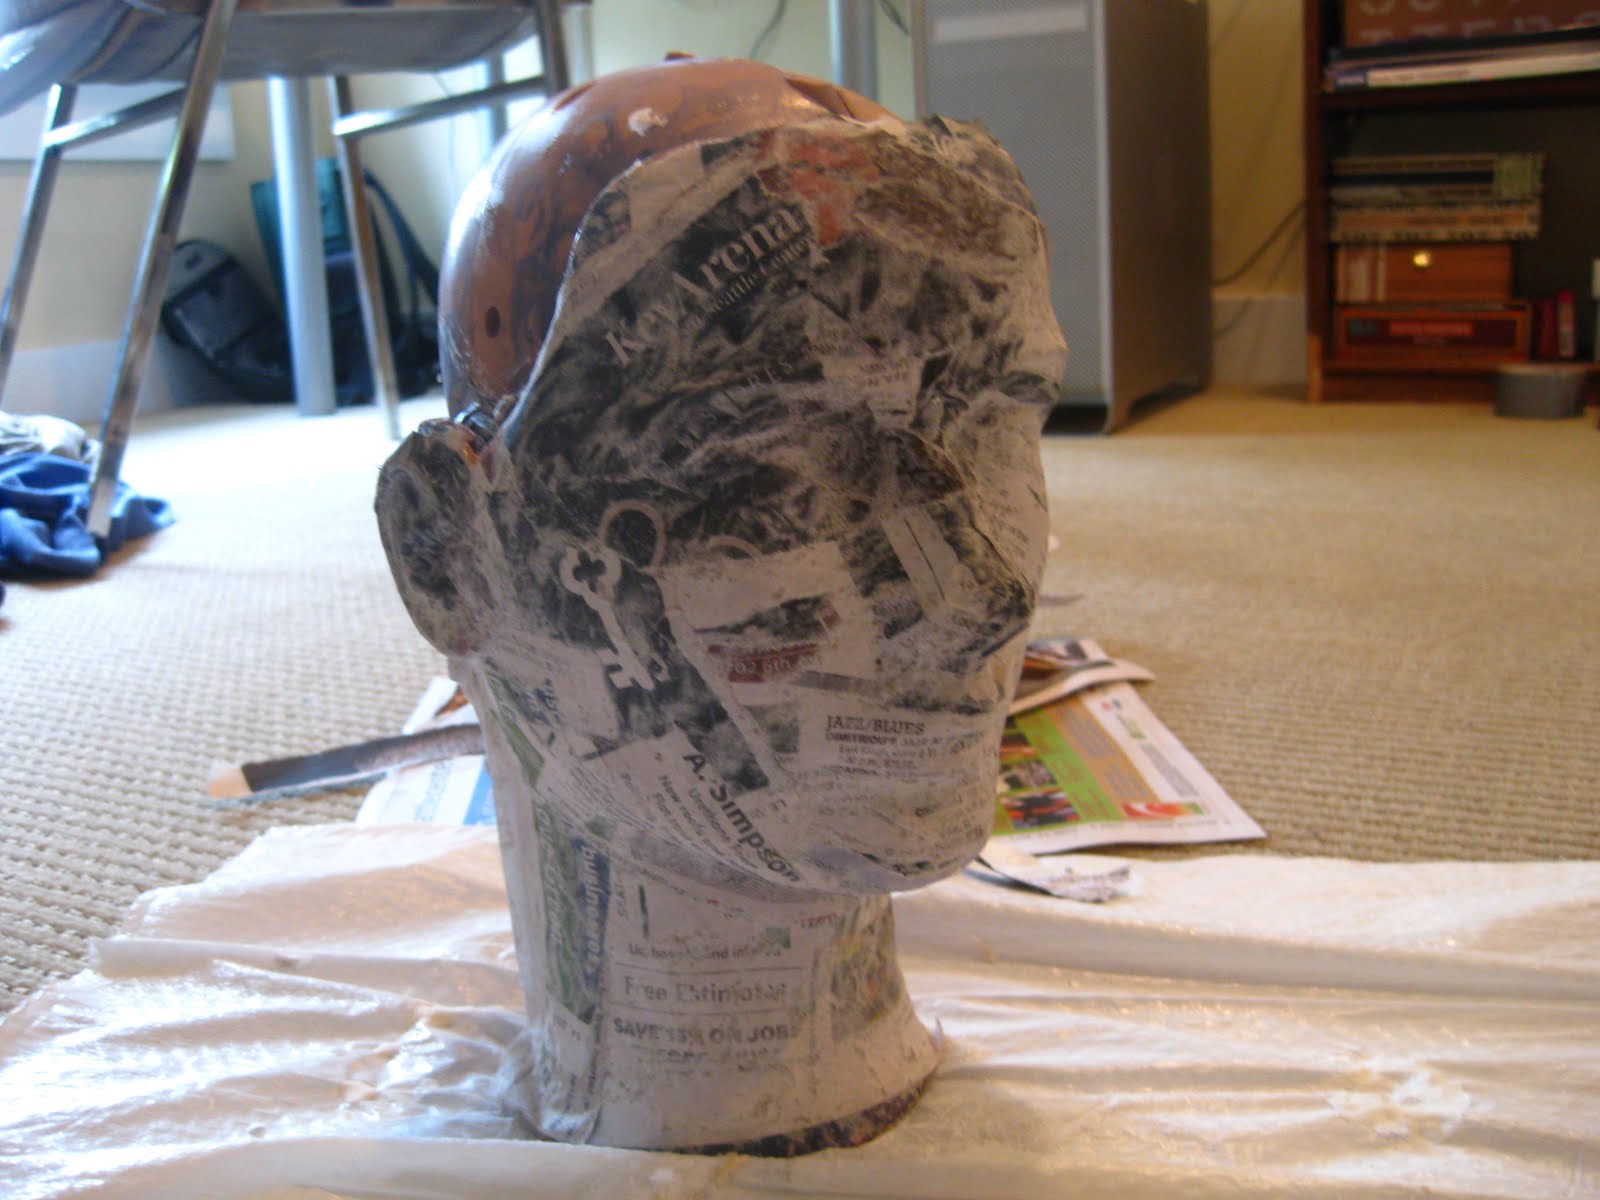
Next, For the top of the head I blew up a balloon and set it in the cavity. Then I paper mached over the balloon, later when it was completely dry I simply popped it from the bottom. I forgot to put a thin layer a Vaseline on the balloon before paper macheing it but it wasn't that big of a deal for me.
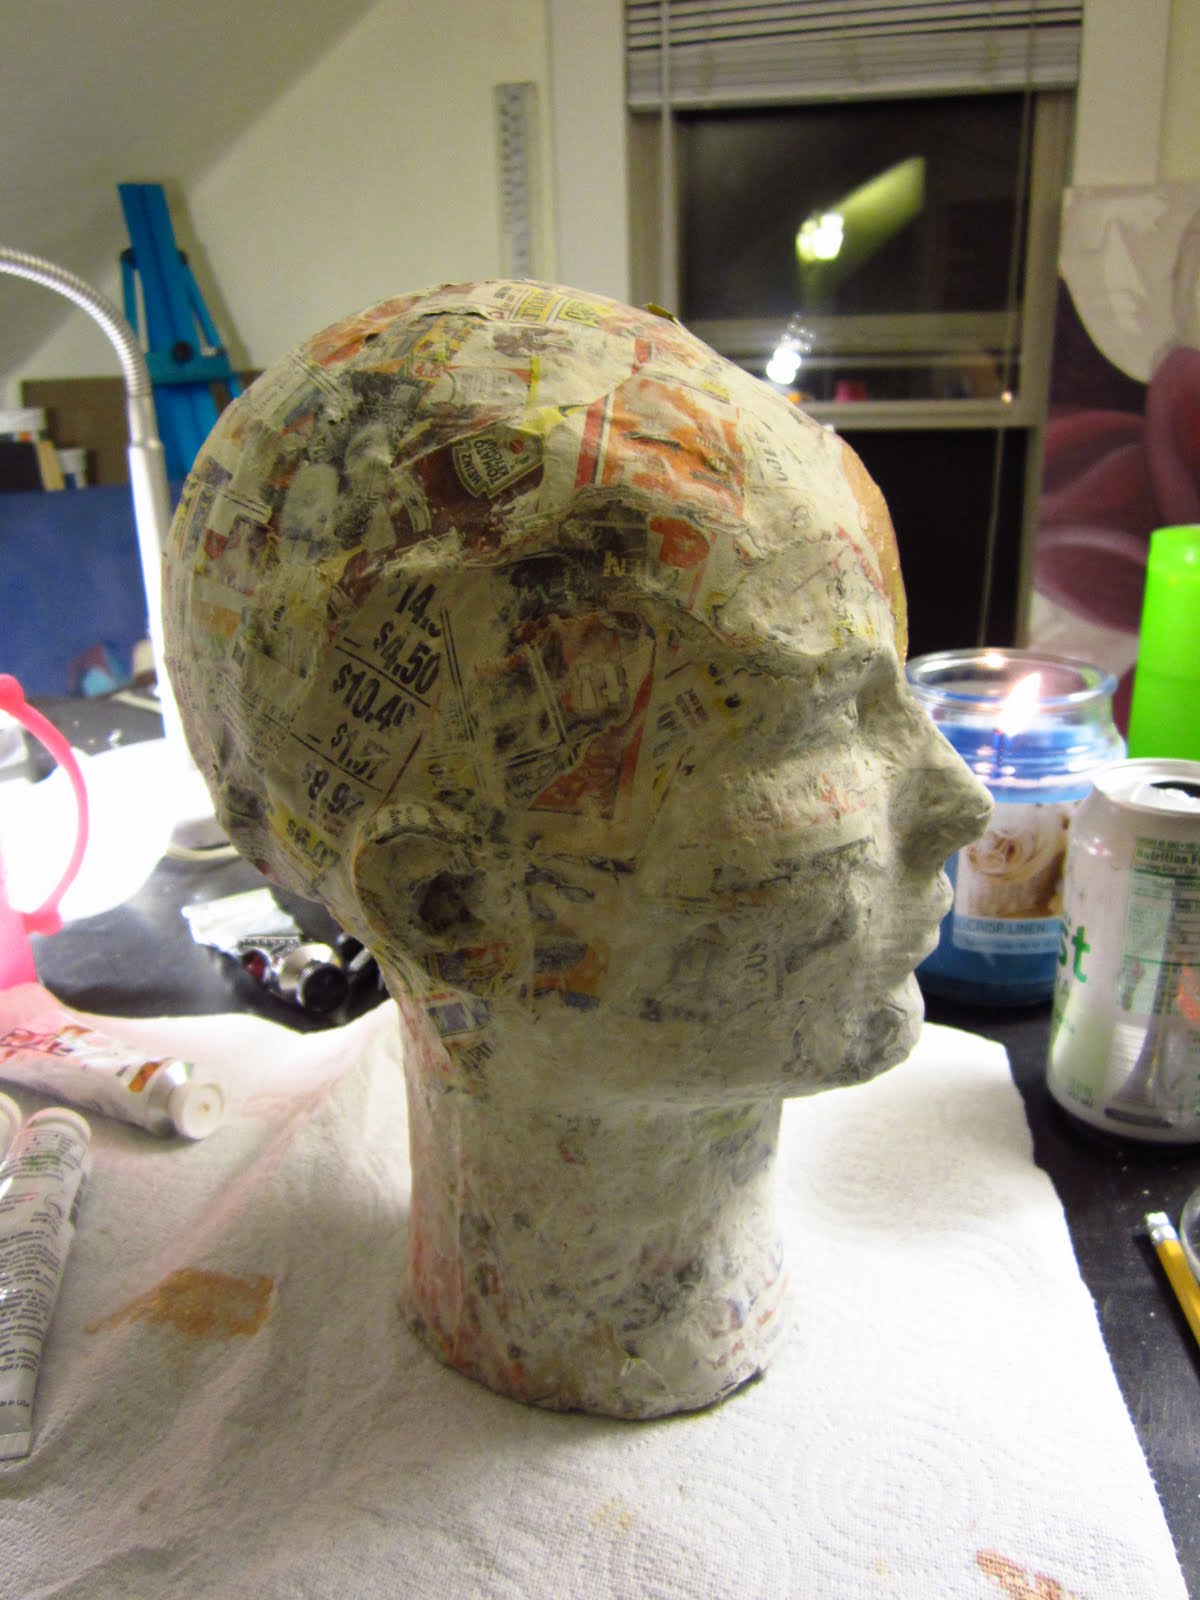
After it was completely dry, I lightly sanded the entire head.
It's a little lumpy so if I wanted to refine it more I am sure I could
have made some sort of a pulp to fill in the crevices.

Next a painted the entire head with acrylic paint in a solid skin tone color.

Then came the eyes and lips.

A $16 wig from a party supply store was the finishing touch!

I used my smallest drill bit to drill an earring hole in each of the ear lobes.

Now I can showcase my earrings and hair accessories
with a more accurate depiction of size!

At some point I would like to make or find a stand for
my display head to make her a little more sturdy.
I hope this post was helpful and thanks for visiting!! :)
absolutely beautiful and so creative. I am going to try this with my art students. Thank you for posting this.
ReplyDeletePretty cool! There's a paper mache paste you can create, super easy. I can't find the website now but I'm sure you can search under google. Great job!
ReplyDelete